
Voici le mac, en version 10.13.16 :
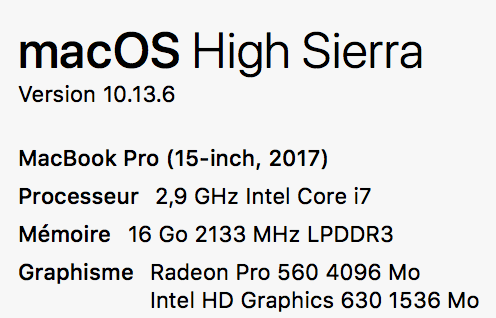
A noter qu’il y a 16 Go de RAM, avec ELK c’est minimum 6 Go …. donc si on a 8 Go, je pense que c’est pas la peine. Ensuite on peut toujours faire toujours via un Raspberry avec des configuration minimale, mais j’observe que quand il a moins de 6 Go il fonctionne nettement moins bien.
Etape n°1 : Installation de Homebrew :
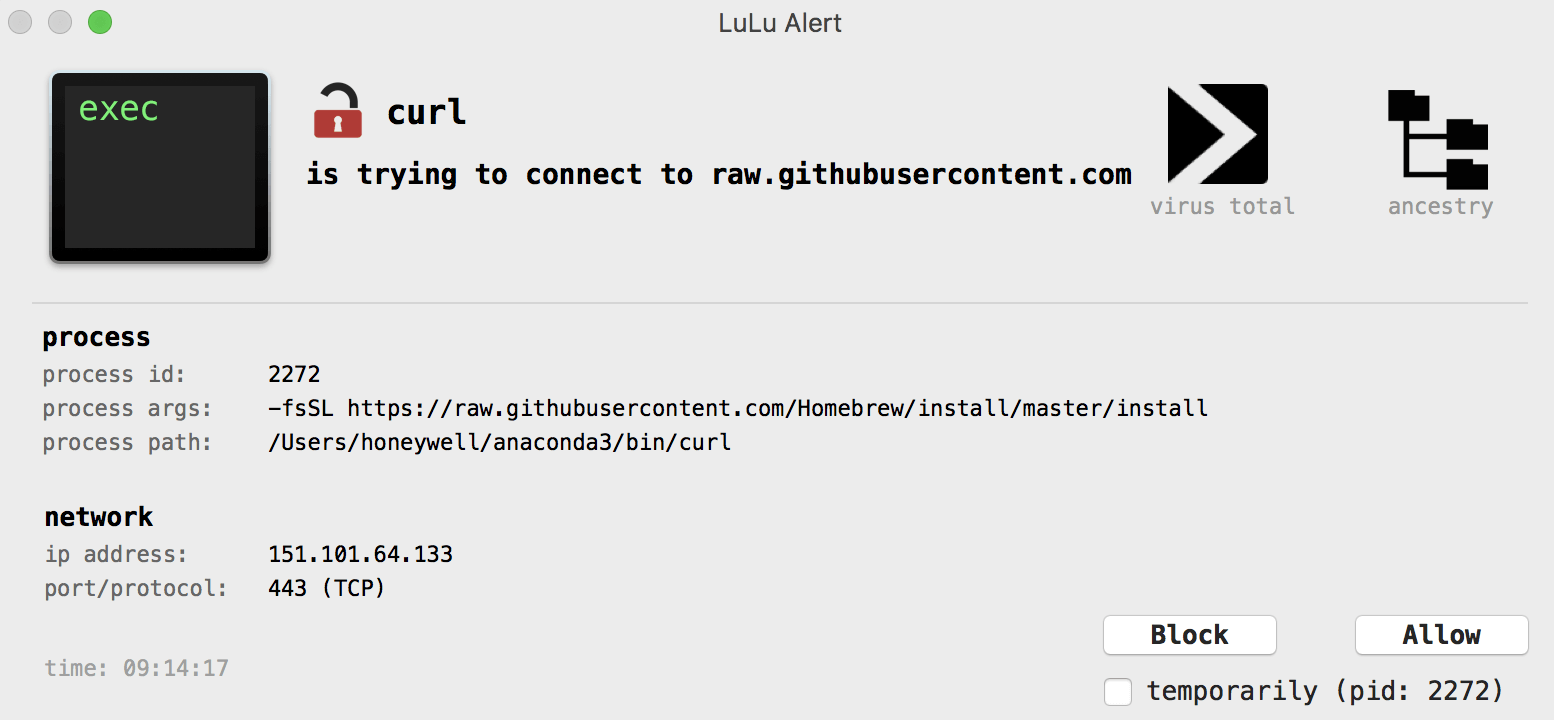
#/usr/bin/ruby -e "$(curl -fsSL https://raw.githubusercontent.com/Homebrew/install/master/install)"
==> This script will install:
/usr/local/bin/brew
/usr/local/share/doc/homebrew
/usr/local/share/man/man1/brew.1
/usr/local/share/zsh/site-functions/_brew
/usr/local/etc/bash_completion.d/brew
/usr/local/Homebrew
==> The following new directories will be created:
/usr/local/Caskroom

Press RETURN to continue or any other key to abort
....
==> Downloading and installing Homebrew...
remote: Enumerating objects: 3965, done.
remote: Counting objects: 100% (3965/3965), done.
remote: Compressing objects: 100% (23/23), done.
remote: Total 13167 (delta 3945), reused 3960 (delta 3942), pack-reused 9202
Receiving objects: 100% (13167/13167), 2.93 MiB | 910.00 KiB/s, done.
Resolving deltas: 100% (10207/10207), completed with 870 local objects.
From https://github.com/Homebrew/brew
....
==> Renamed Formulae
cdiff -> ydiff                         geth -> ethereum                       php56 -> php@5.6                       php71 -> php@7.1                       saltstack -> salt
crystal-lang -> crystal                latexila -> gnome-latex                php70 -> php@7.0                       rebar@3 -> rebar3                      wpcli-completion -> wp-cli-completion
==> Deleted Formulae
arm                        boot2docker                ghc@8.0                    i3status                   mal4s                      nazghul                    submarine
artifactory-cli-go         boot2docker-completion     gnupg@2.0                  llvm@3.7                   mediatomb                  node@4                     ufoai
aws-cloudsearch            dirmngr                    gpg-agent                  llvm@3.8                   mimetic                    picolisp                   voltdb
bokken                     ecj                        i3                         luciddb                    monotone                   python3                    wry
==> Installation successful!

==> Homebrew has enabled anonymous aggregate formulae and cask analytics.
Read the analytics documentation (and how to opt-out) here:
  https://docs.brew.sh/Analytics.html

==> Homebrew is run entirely by unpaid volunteers. Please consider donating:
  https://github.com/Homebrew/brew#donations
==> Next steps:
- Run `brew help` to get started
- Further documentation:
    https://docs.brew.sh


#brew update
Already up-to-date.
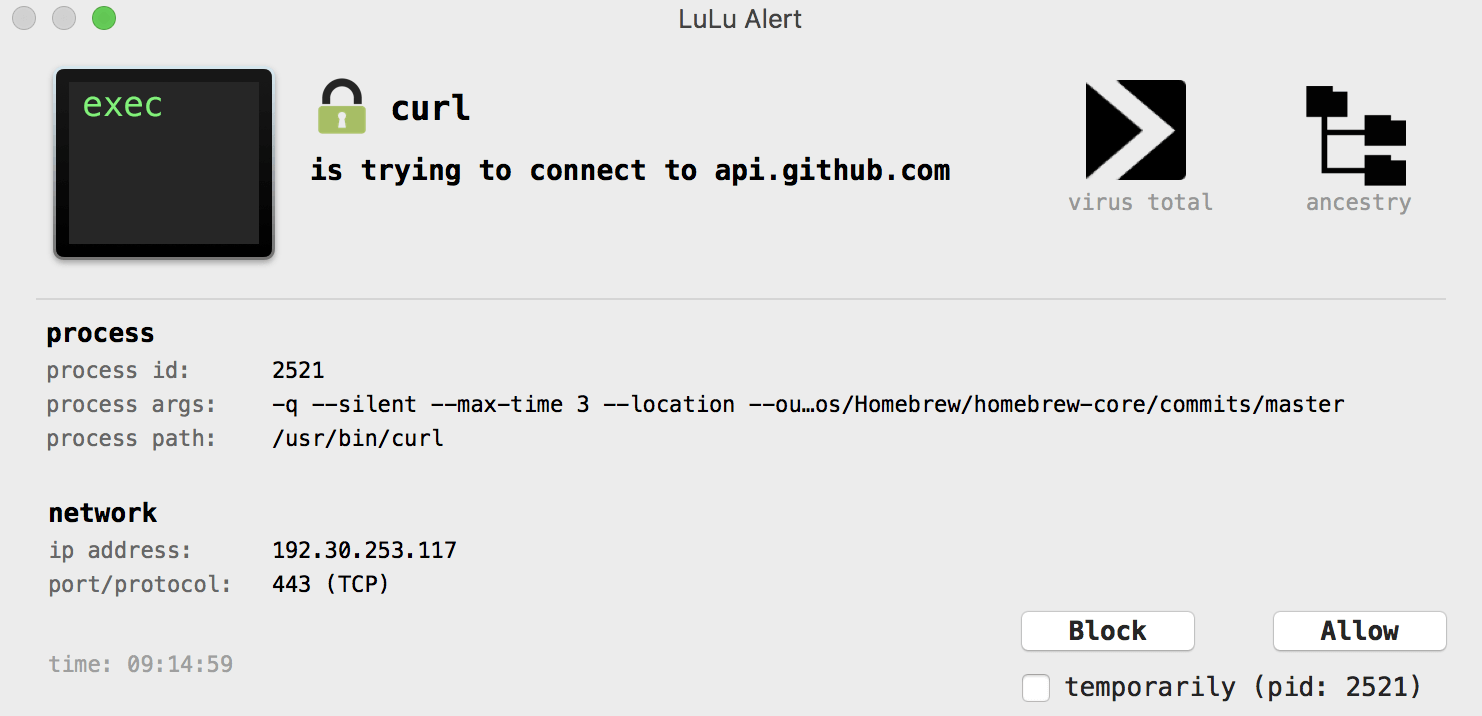
En résumé deux alertes de sécurité qu’il faut permettre :
Etape 2 : Installation de Java :
Normalement on tape la commande :
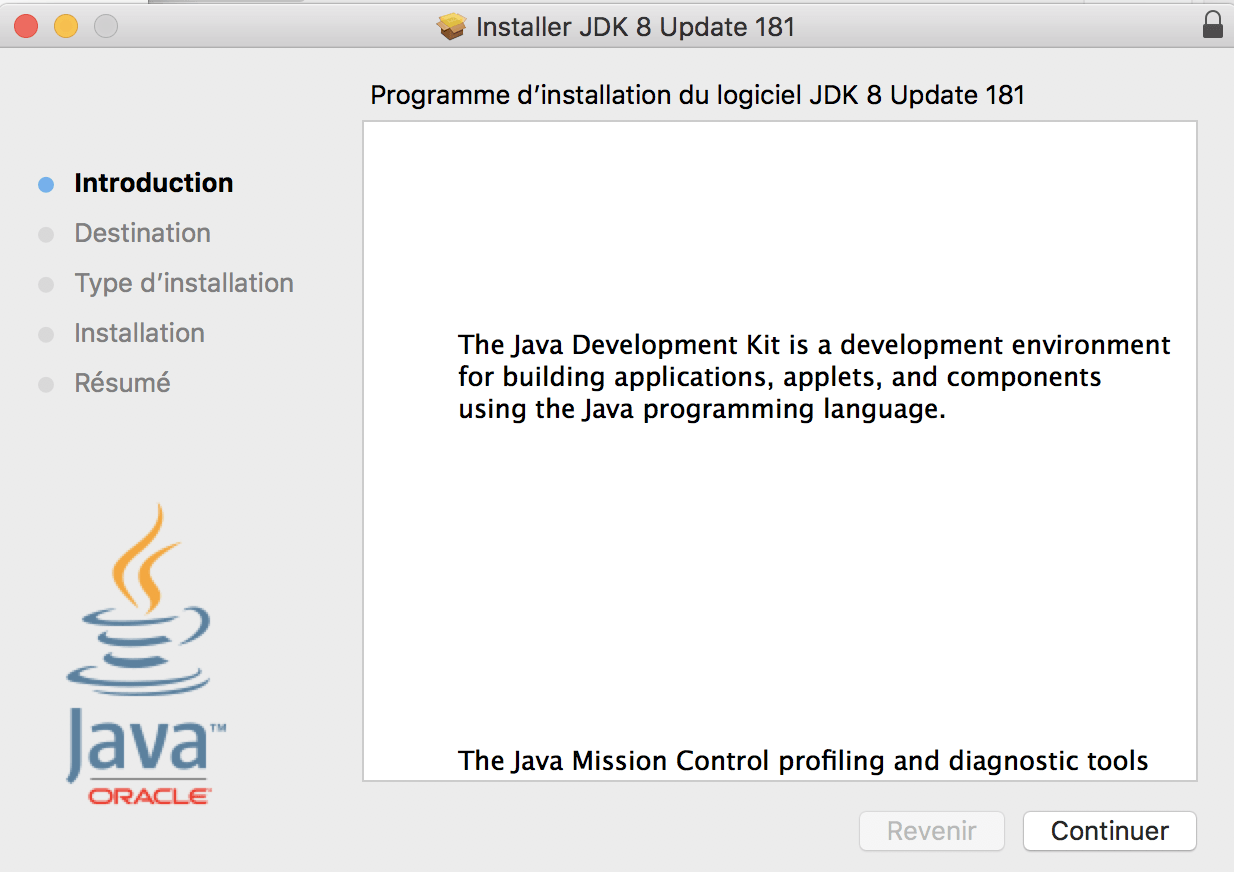
# java -version
No Java runtime present, requesting install.
Si on n’a pas java, la fenêtre suivante s’ouvre :
 Il faut suivre le lien suivant pour faire l’installation : https://support.apple.com/kb/dl1572?locale=fr_FR ou alors https://www.oracle.com/technetwork/java/javase/downloads/jdk8-downloads-2133151.html ( jdk-8u181-macosx-x64.dmg )
Etape 3 : Installation d’Elasticsearch
Les commandes :
# brew install elasticsearch && brew info elasticsearch
==> Downloading https://artifacts.elastic.co/downloads/elasticsearch/elasticsearch-oss-6.4.1.tar.gz
...
==> Summary
?  /usr/local/Cellar/elasticsearch/6.4.1: 118 files, 36MB, built in 55 seconds
elasticsearch: stable 6.4.1, HEAD
Distributed search & analytics engine
https://www.elastic.co/products/elasticsearch
/usr/local/Cellar/elasticsearch/6.4.1 (118 files, 36MB) *
  Built from source on 2018-09-26 at 09:37:48
From: https://github.com/Homebrew/homebrew-core/blob/master/Formula/elasticsearch.rb
==> Requirements
Required: java = 1.8 ✔
==> Options
--HEAD
	Install HEAD version
...
==> Analytics
install: 8,330 (30d), 30,977 (90d), 152,516 (365d)
install_on_request: 7,623 (30d), 26,652 (90d), 117,574 (365d)
build_error: 10 (30d)
Démarrage de Elasticsearch :
# brew services start elasticsearch
==> Tapping homebrew/services
Cloning into '/usr/local/Homebrew/Library/Taps/homebrew/homebrew-services'...
remote: Enumerating objects: 14, done.
remote: Counting objects: 100% (14/14), done.
remote: Compressing objects: 100% (10/10), done.
remote: Total 14 (delta 0), reused 8 (delta 0), pack-reused 0
Unpacking objects: 100% (14/14), done.
Tapped 1 command (44 files, 58.9KB).
==> Successfully started `elasticsearch` (label: homebrew.mxcl.elasticsearch)
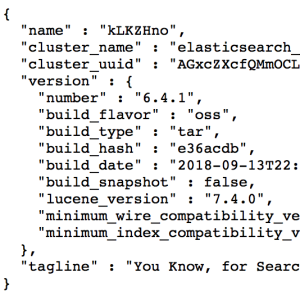
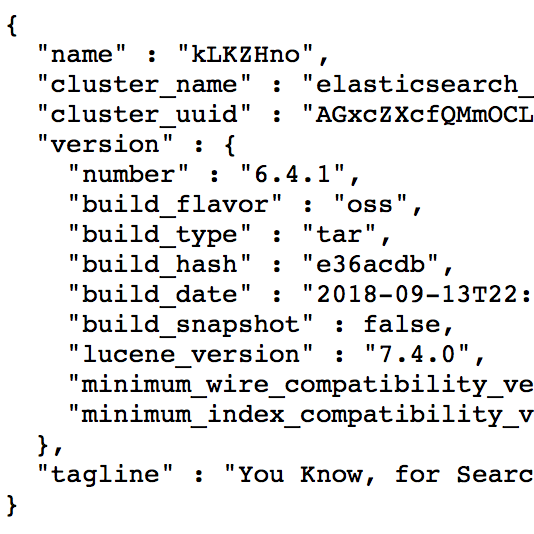
On peut faire un premier test : http://localhost:9200
 ETAPE 4 : Installation de Logstash
Lancement de l’installation :
# brew install logstash
==> Downloading https://artifacts.elastic.co/downloads/logstash/logstash-oss-6.4.1.tar.gz
######################################################################## 100.0%
==> Caveats
Please read the getting started guide located at:
  https://www.elastic.co/guide/en/logstash/current/getting-started-with-logstash.html

To have launchd start logstash now and restart at login:
  brew services start logstash
Or, if you don't want/need a background service you can just run:
  logstash
==> Summary
?  /usr/local/Cellar/logstash/6.4.1: 12,009 files, 247.1MB, built in 4 minutes 12 seconds
Lancement du service :
# brew services start logstash
==> Successfully started `logstash` (label: homebrew.mxcl.logstash
ETAPE 5 : INSTALLATION DE KIBANA
Installation :
# brew install kibana
==> Downloading https://homebrew.bintray.com/bottles/kibana-6.4.1.high_sierra.bottle.tar.gz
...
==> Pouring kibana-6.4.1.high_sierra.bottle.tar.gz
==> Caveats
Config: /usr/local/etc/kibana/
If you wish to preserve your plugins upon upgrade, make a copy of
/usr/local/opt/kibana/plugins before upgrading, and copy it into the
new keg location after upgrading.

To have launchd start kibana now and restart at login:
  brew services start kibana
Or, if you don't want/need a background service you can just run:
  kibana
==> Summary
?  /usr/local/Cellar/kibana/6.4.1: 47,176 files, 256.3MB
Lancement :
# brew services start kibana
==> Successfully started `kibana` (label: homebrew.mxcl.kibana)
Vérification des services :
# brew services list
Name          Status  User      Plist
elasticsearch started .... /Users/..../Library/LaunchAgents/homebrew.mxcl.elasticsearch.plist
kibana        started .... /Users/..../Library/LaunchAgents/homebrew.mxcl.kibana.plist
logstash      started .... /Users/..../Library/LaunchAgents/homebrew.mxcl.logstash.plist
ETAPE 6 : CONFIGURATION DE KIBANA
Changement de la configuration de kibana.yml :
# sudo vi /usr/local/etc/kibana/kibana.yml
# Kibana is served by a back end server. This setting specifies the port to use.
server.port: 5601

# The Kibana server's name.  This is used for display purposes.
server.name: "MacOSFred"

# The URL of the Elasticsearch instance to use for all your queries.
elasticsearch.url: "http://localhost:9200"
On relance :
# brew services restart kibana
Stopping `kibana`... (might take a while)
==> Successfully stopped `kibana` (label: homebrew.mxcl.kibana)
==> Successfully started `kibana` (label: homebrew.mxcl.kibana)
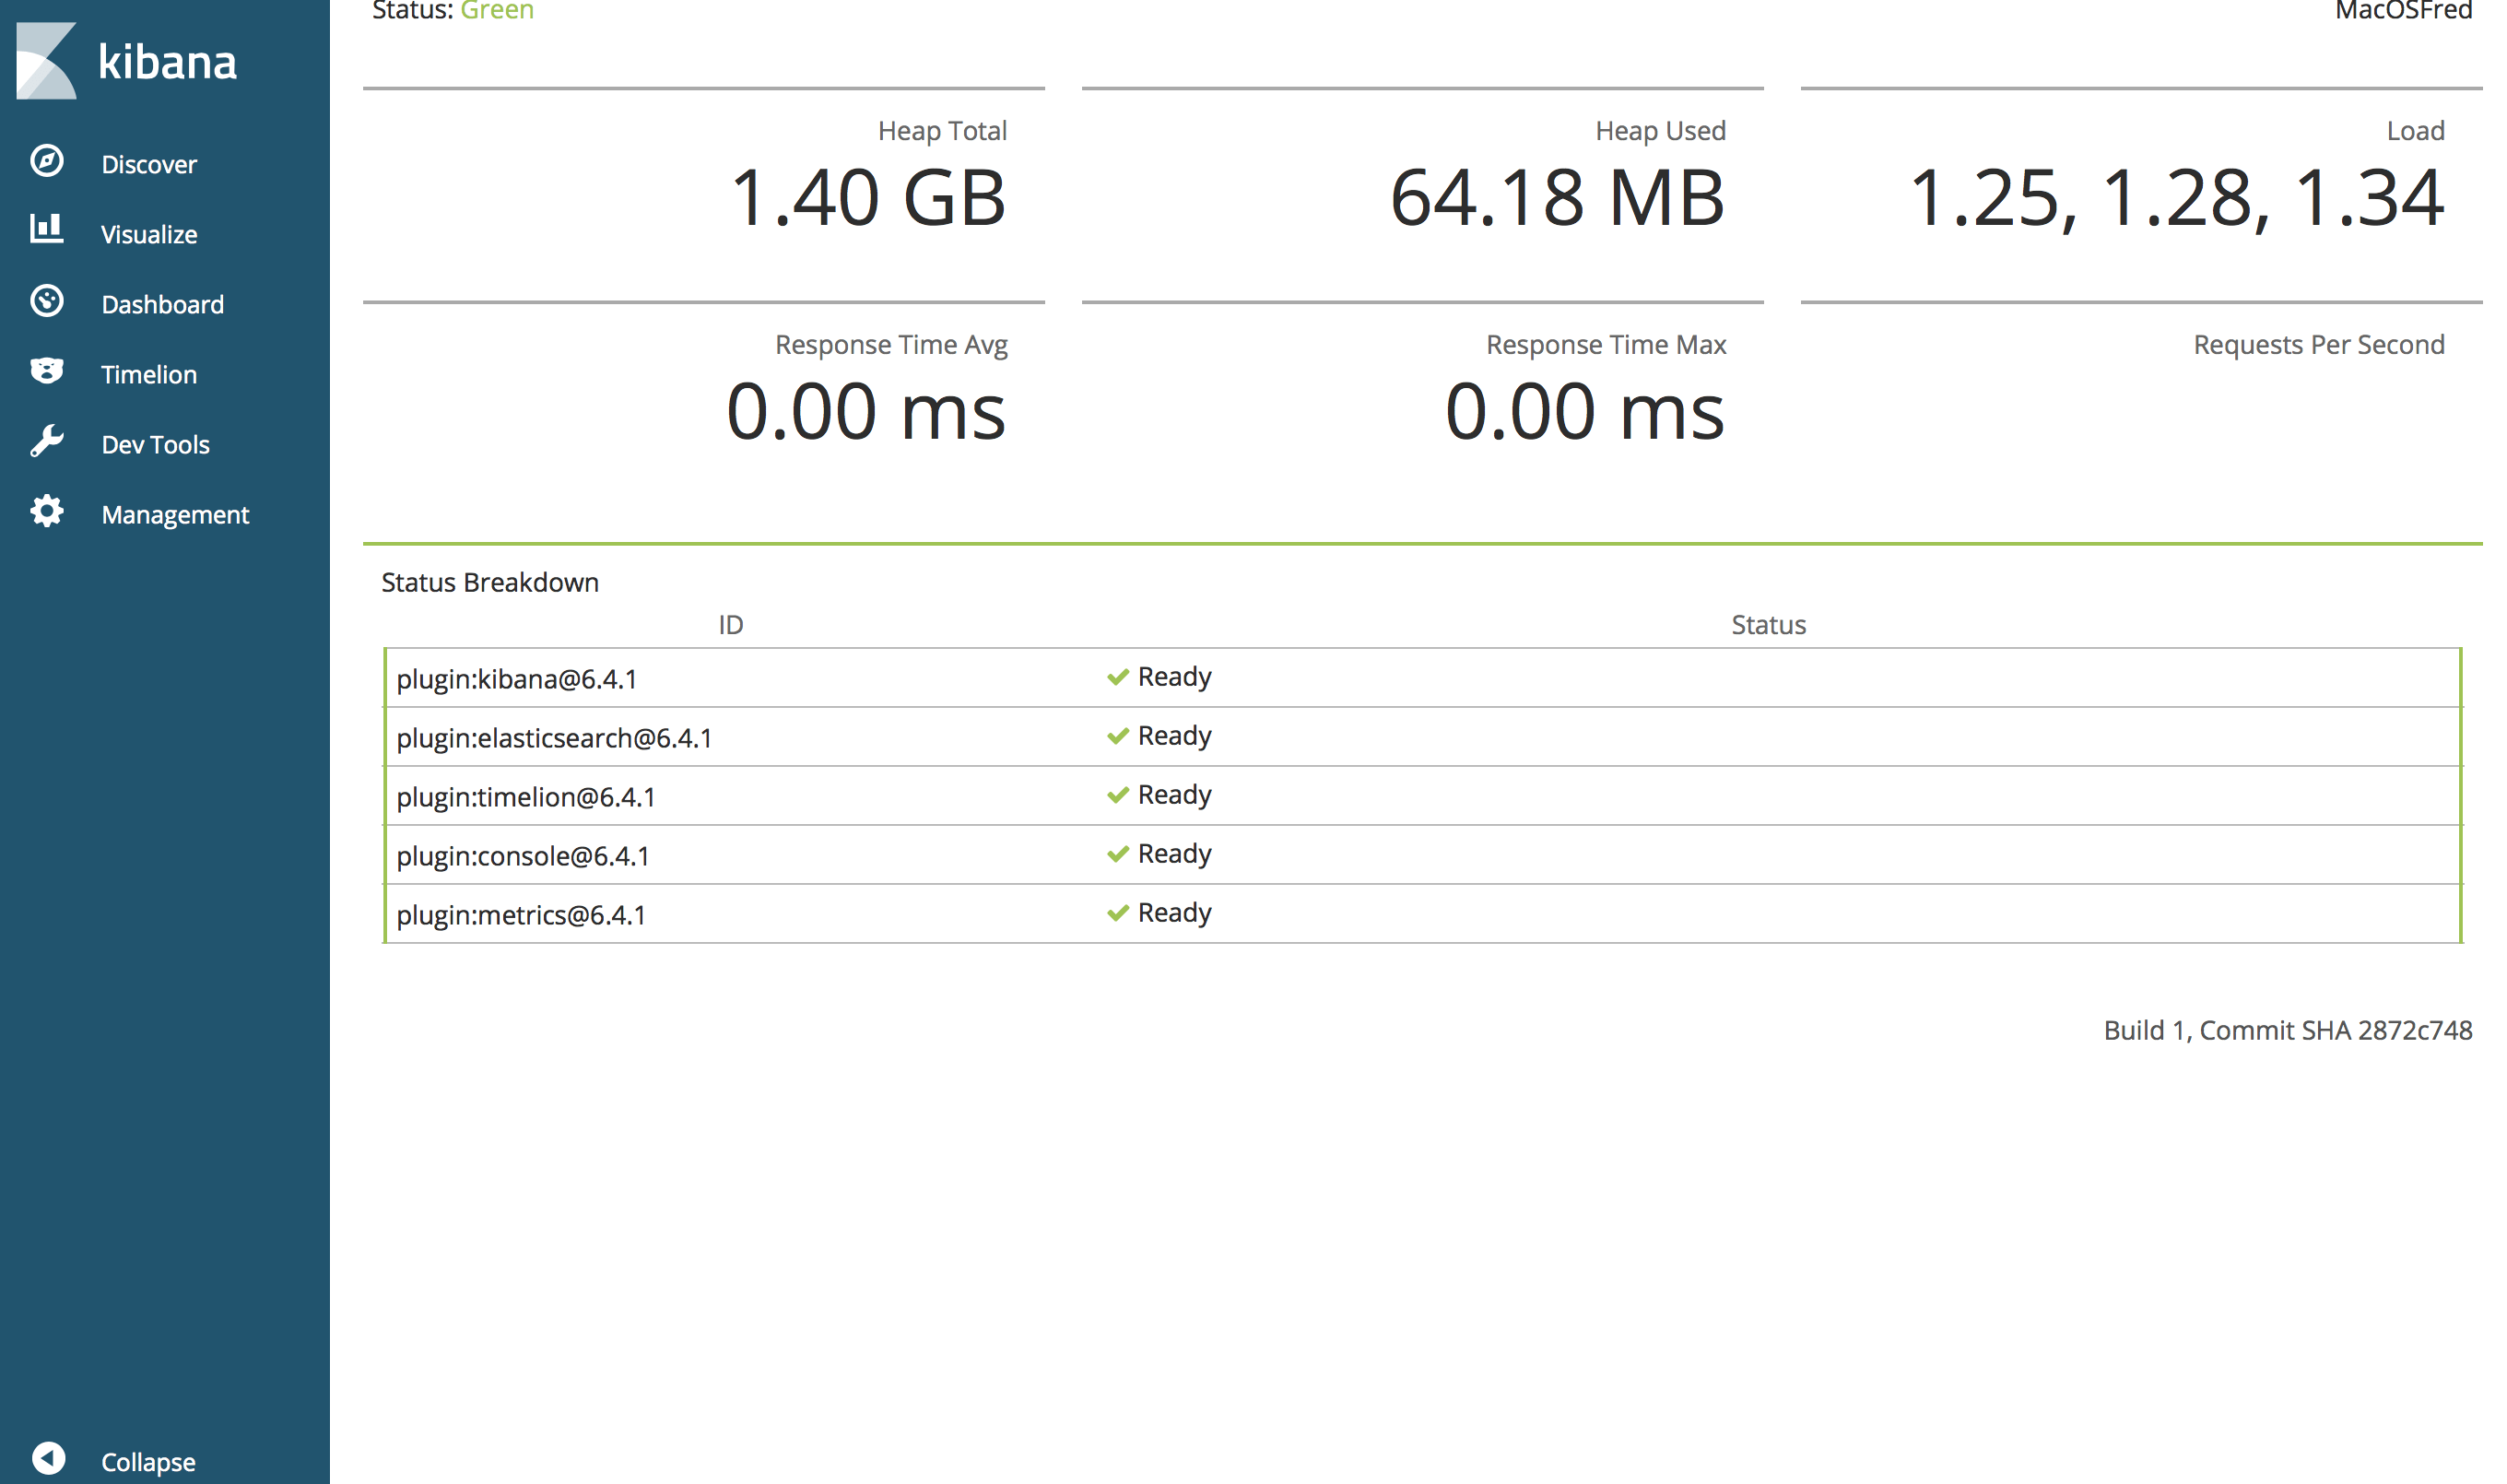
Et on fait un test via l’URL : http://localhost:5601/status :
Maintenant on fait des ajouts …
ETAPE 6 : CONFIGURATION DE LOGSTACH :
Modification du fichier syslog.conf :
# sudo  mkdir -p /etc/logstash/conf.d/
# sudo vim /etc/logstash/conf.d/syslog.conf
# brew services restart logstash
Stopping `logstash`... (might take a while)
==> Successfully stopped `logstash` (label: homebrew.mxcl.logstash)
==> Successfully started `logstash` (label: homebrew.mxcl.logstash)
ETAPE 7 : INSTALLATION DE FILEBEAT :
# cd /usr/local/
# sudo bin/elasticsearch-plugin install ingest-geoip
-> Downloading ingest-geoip from elastic
[=================================================] 100%
@@@@@@@@@@@@@@@@@@@@@@@@@@@@@@@@@@@@@@@@@@@@@@@@@@@@@@@@@@@
@     WARNING: plugin requires additional permissions     @
@@@@@@@@@@@@@@@@@@@@@@@@@@@@@@@@@@@@@@@@@@@@@@@@@@@@@@@@@@@
* java.lang.RuntimePermission accessDeclaredMembers
* java.lang.reflect.ReflectPermission suppressAccessChecks
See http://docs.oracle.com/javase/8/docs/technotes/guides/security/permissions.html
for descriptions of what these permissions allow and the associated risks.

Continue with installation? [y/N]y
-> Installed ingest-geoip

# brew services restart elasticsearch
Stopping `elasticsearch`... (might take a while)
==> Successfully stopped `elasticsearch` (label: homebrew.mxcl.elasticsearch)
==> Successfully started `elasticsearch` (label: homebrew.mxcl.elasticsearch)
# sudo curl -L -O https://artifacts.elastic.co/downloads/beats/filebeat/filebeat-6.4.1-darwin-x86_64.tar.gz
...
# sudo tar xzvf filebeat-6.4.1-darwin-x86_64.tar.gz
# cd filebeat-6.4.1-darwin-x86_64/

# sudo mkdir -p /var/log/Filebeat/registry
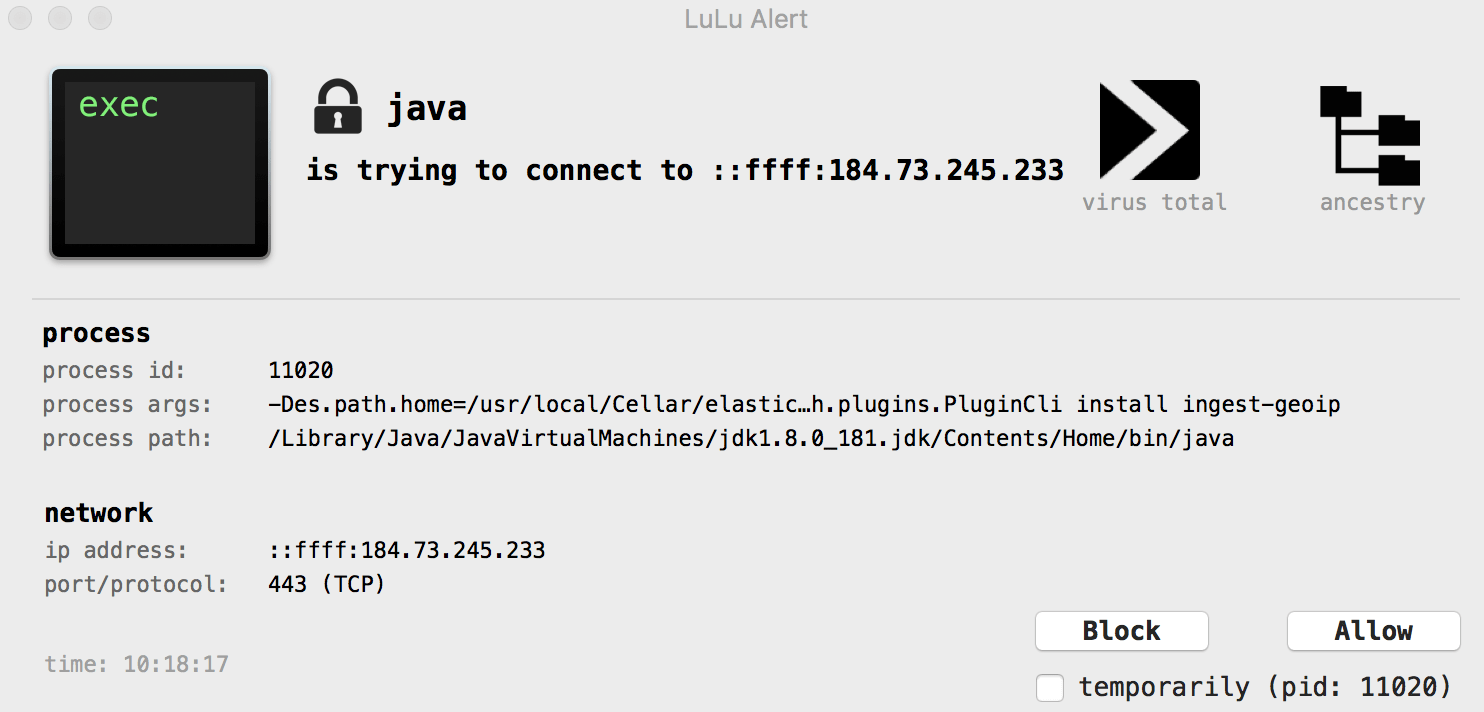
Attention il faut permettre de sortir :
Modification de filebeat.yml :
# sudo vi filebeat.yml

# sudo cat filebeat.yml | grep -v "#" | grep -v "^$"
filebeat.inputs:
- type: log
  enabled: true
  paths:
    - /var/log/*.log
filebeat.config.modules:
  path: ${path.config}/modules.d/*.yml
  reload.enabled: false
setup.template.settings:
  index.number_of_shards: 3
setup.kibana:
  host: "127.0.0.1:5601"
output.elasticsearch:
  hosts: ["127.0.0.1:9200"]

# sudo ./filebeat modules enable system
Enabled system

# sudo ./filebeat setup
Loaded index template
Loading dashboards (Kibana must be running and reachable)
Loaded dashboards
Loaded machine learning job configurations
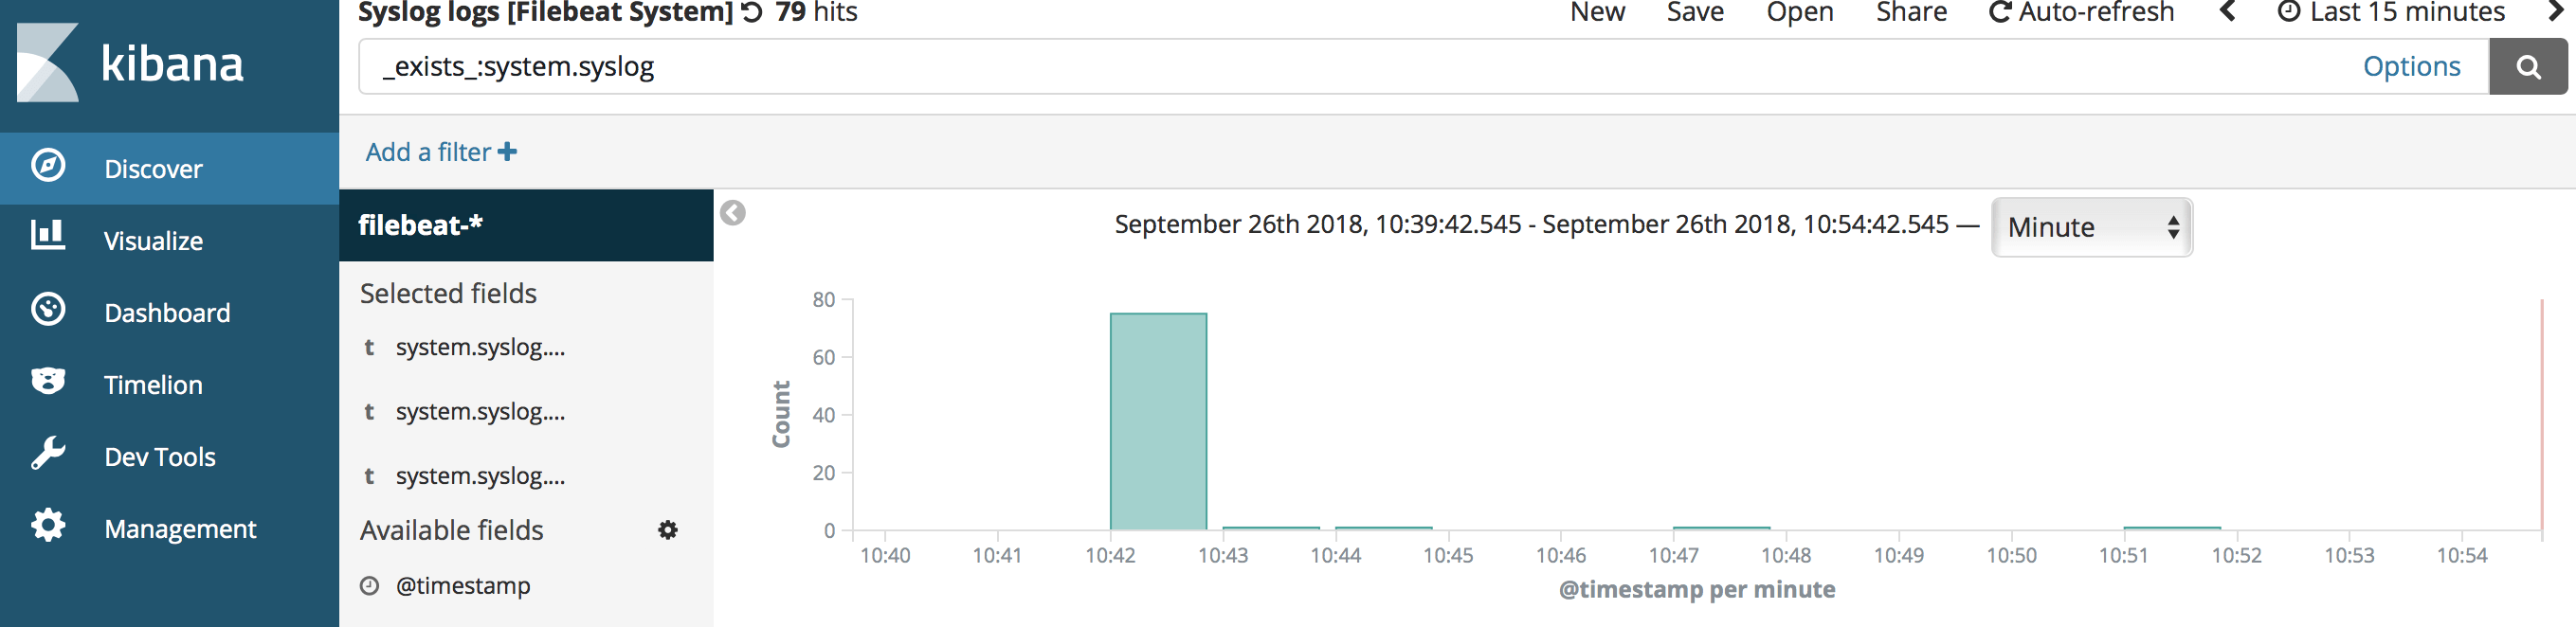
Pour voir le runtime :
# sudo ./filebeat -e
A suivre.
A noter qu’ensuite le but est d’ajouter un maximum de logs, la commande suivante devrait vous permettre de trouver quelques fichiers de logs
$ lsof | grep "REG" | grep "\.log$"