Etape n°1 : Installation de l’OS ( 2018-06-27-raspbian-stretch-lite.img ) sur la carte SD ( Avec ApplePi si vous êtes sous MacOS ) .
-> Voir : https://www.cyber-neurones.org/2018/09/raspberry-mac-os-applepi-baker-creer-une-carte-sd-pour-le-raspberry/ .
$ hostnamectl
   Static hostname: raspberrypi
         Icon name: computer
        Machine ID: e3de61955d6646558bc520db1abbc48c
           Boot ID: 38574747c8294acab1c292cb2c8023c4
  Operating System: Raspbian GNU/Linux 9 (stretch)
            Kernel: Linux 4.14.50-v7+
      Architecture: arm
Etape n°2 : Changement de l’IP.
Modification de /etc/dhcpcd.conf , mais aussi de /etc/hostname (pour le nom RASP7, et oui le 8ème Raspberry : 192.168.0.76 ) . Le login : pi et le mot de passe raspberry (enfin rqspberry )
Et lancement du service ssh ( afin de supprimer écran/clavier et faire à distance ).
$ sudo systemctl enable ssh.service
$ sudo systemctl start ssh.service
$ sudo apt-get upgrade
$ sudo apt-get update
Changement du mot de passe ( commande passwd ) … et reboot.
Etape n°3 : Installation de GIT
$ sudo apt-get install wget git-core git
$ sudo apt-get install -y usbutils
Création de l’utilisateur et du groupe git
$ sudo adduser --disabled-password --gecos "" git && echo "git:git"
$ sudo passwd git
Enter new UNIX password:
Retype new UNIX password:
passwd: password updated successfully
Création du répertoire pour les sources :
$ sudo mkdir /sources
$ sudo mkdir Projet1.git
$ sudo chown -R git.git /sources
$ sudo -u git git init --bare
Initialized empty Git repository in /sources/Projet1.git/
Le but est ensuite de le déplacer vers un composant USB …
Ensuite on va sur le client :
$ git init
$ git remote add master git@192.168.0.76:/sources/Projet1.git
$ git add *
$ git commit * -m "Orgin"
$ git push origin master
git@192.168.0.76's password:
Counting objects: 3, done.
Delta compression using up to 8 threads.
Compressing objects: 100% (2/2), done.
Writing objects: 100% (3/3), 1.30 KiB | 1.30 MiB/s, done.
Total 3 (delta 0), reused 0 (delta 0)
To 192.168.0.76:/sources/Projet1.git
 * [new branch]      master -> master
Etape n°4 : Interface graphique et test .
Installation d’une interface graphique :
$ curl https://raw.githubusercontent.com/alberthier/git-webui/master/install/installer.sh | bash
  % Total    % Received % Xferd  Average Speed   Time    Time     Time  Current
                                 Dload  Upload   Total   Spent    Left  Speed
100  1855  100  1855    0     0   3506      0 --:--:-- --:--:-- --:--:--  3513
Cloning git-webui repository
Cloning into '.git-webui'...
remote: Enumerating objects: 48, done.
remote: Counting objects: 100% (48/48), done.
remote: Compressing objects: 100% (38/38), done.
remote: Total 48 (delta 4), reused 33 (delta 2), pack-reused 0
Unpacking objects: 100% (48/48), done.
Enabling auto update
Installing 'webui' alias
Je repasse sous le serveur pour faire un test :
$ git clone git@192.168.0.76:/sources/Projet1.git
Cloning into 'Projet1'...
git@192.168.0.76's password:
remote: Counting objects: 3, done.
remote: Compressing objects: 100% (2/2), done.
remote: Total 3 (delta 0), reused 0 (delta 0)
Receiving objects: 100% (3/3), done.
$ cd Projet1/
pi@raspberrypi:~/Projet1 $ git webui
Serving at http://localhost:8000
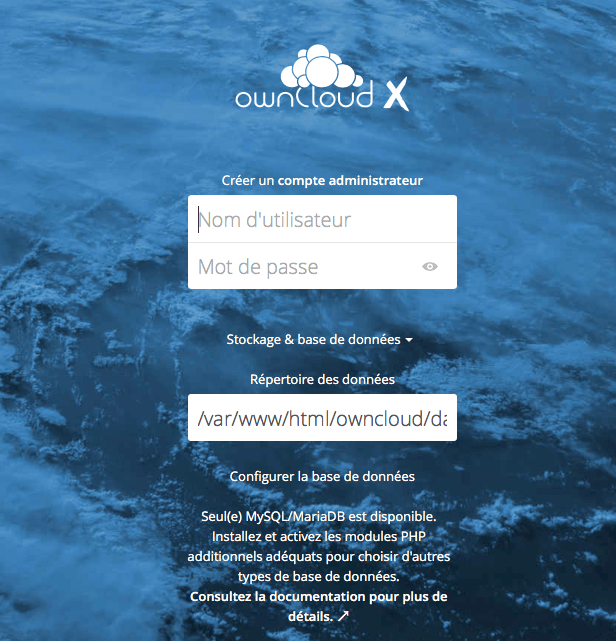
J’ai bien une interface Web sur http://192.168.0.76:8000 …
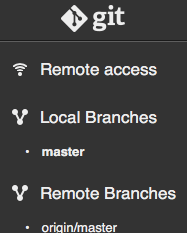 C’est donc simple et facile … il faut pas s’en passer 🙂
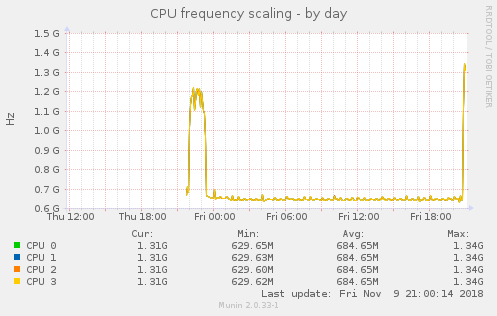
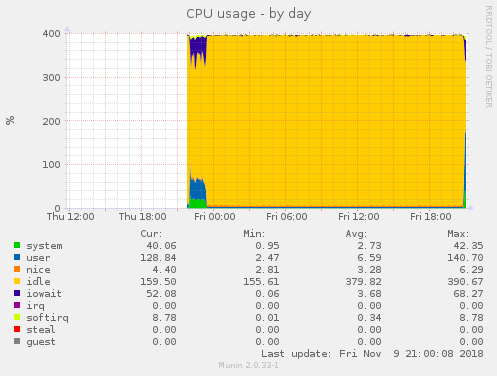
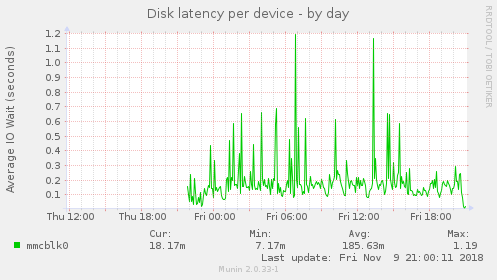
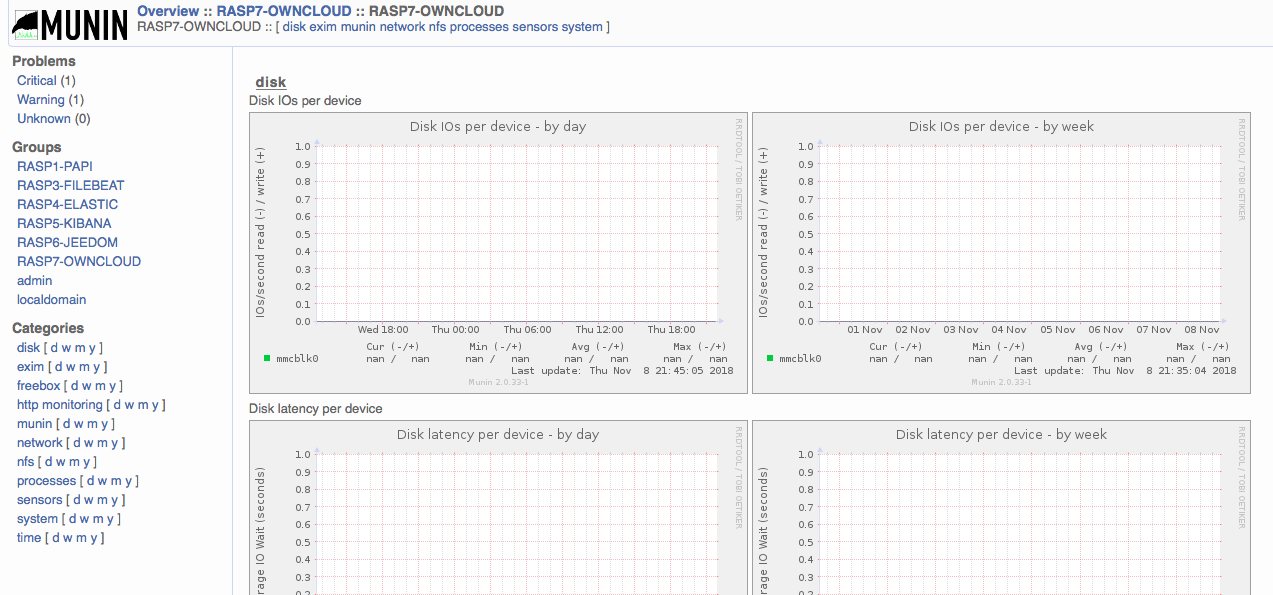
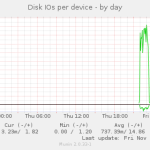
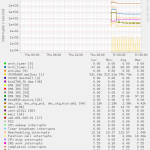
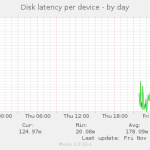
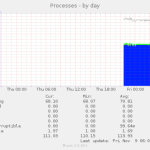
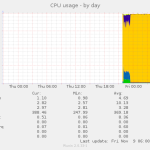
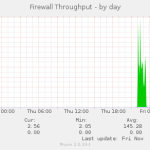
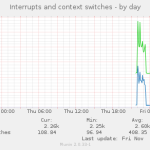
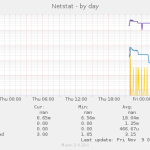
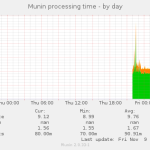
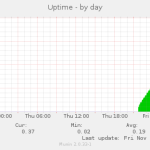
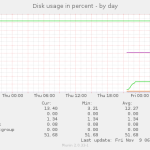
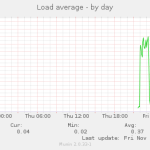
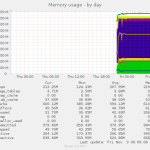
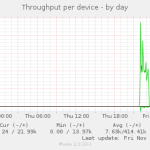
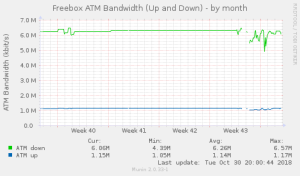
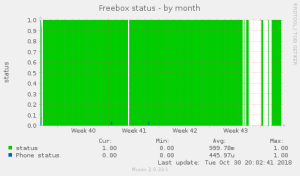
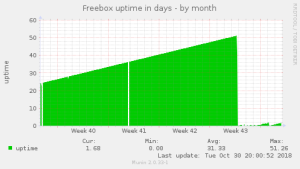
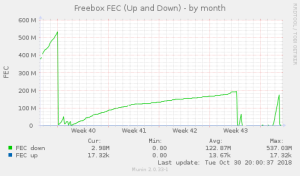
Etape n°5 : Installation de MUNIN ( comme toujours )
Le client MUNIN :
$ sudo apt-get install munin munin-node munin-plugins-extra libnet-snmp-perl
$ sudo nano /etc/munin/munin-node.conf
...
allow ^127\.0\.0\.1$
allow ^192\.168\.0\.80$
allow ^::1$
...
$ sudo munin-node-configure --shell  | sh -x
Sur mon serveur MUNIN ( 192.168.0.80 ) :
$ sudo vi /etc/munin/munin.conf
...
[RASP8-GIT]
    address 192.168.0.76
    use_node_name yes
...
$ sudo su - munin --shell=/bin/bash
$ /usr/share/munin/munin-update --nofork --debug
$ exit
$ sudo service munin-node restart